Sydney’s suburban trains run double-deck because stacking two levels fits more seats into the same platform length. Where to sit depends on what you’re doing next. For the view, go upstairs on the harbor-facing side. For a tight connection, stay downstairs near the doors. The upper deck’s single staircase is the one thing that will make you miss a train.
Two levels, one purpose
The double-deck design dates to 1964, when the network needed more capacity but platforms couldn’t get any longer. Stacking a second level solved that without touching the infrastructure. Today Sydney Trains runs double-deck carriages on almost every suburban and intercity line out of Central.
Where to sit is a decision, not a default
Every double-deck guide says the same thing: upstairs for the view, downstairs for speed. That’s true, but it skips the part that actually matters. Which deck wins depends on the line, and on what happens next.
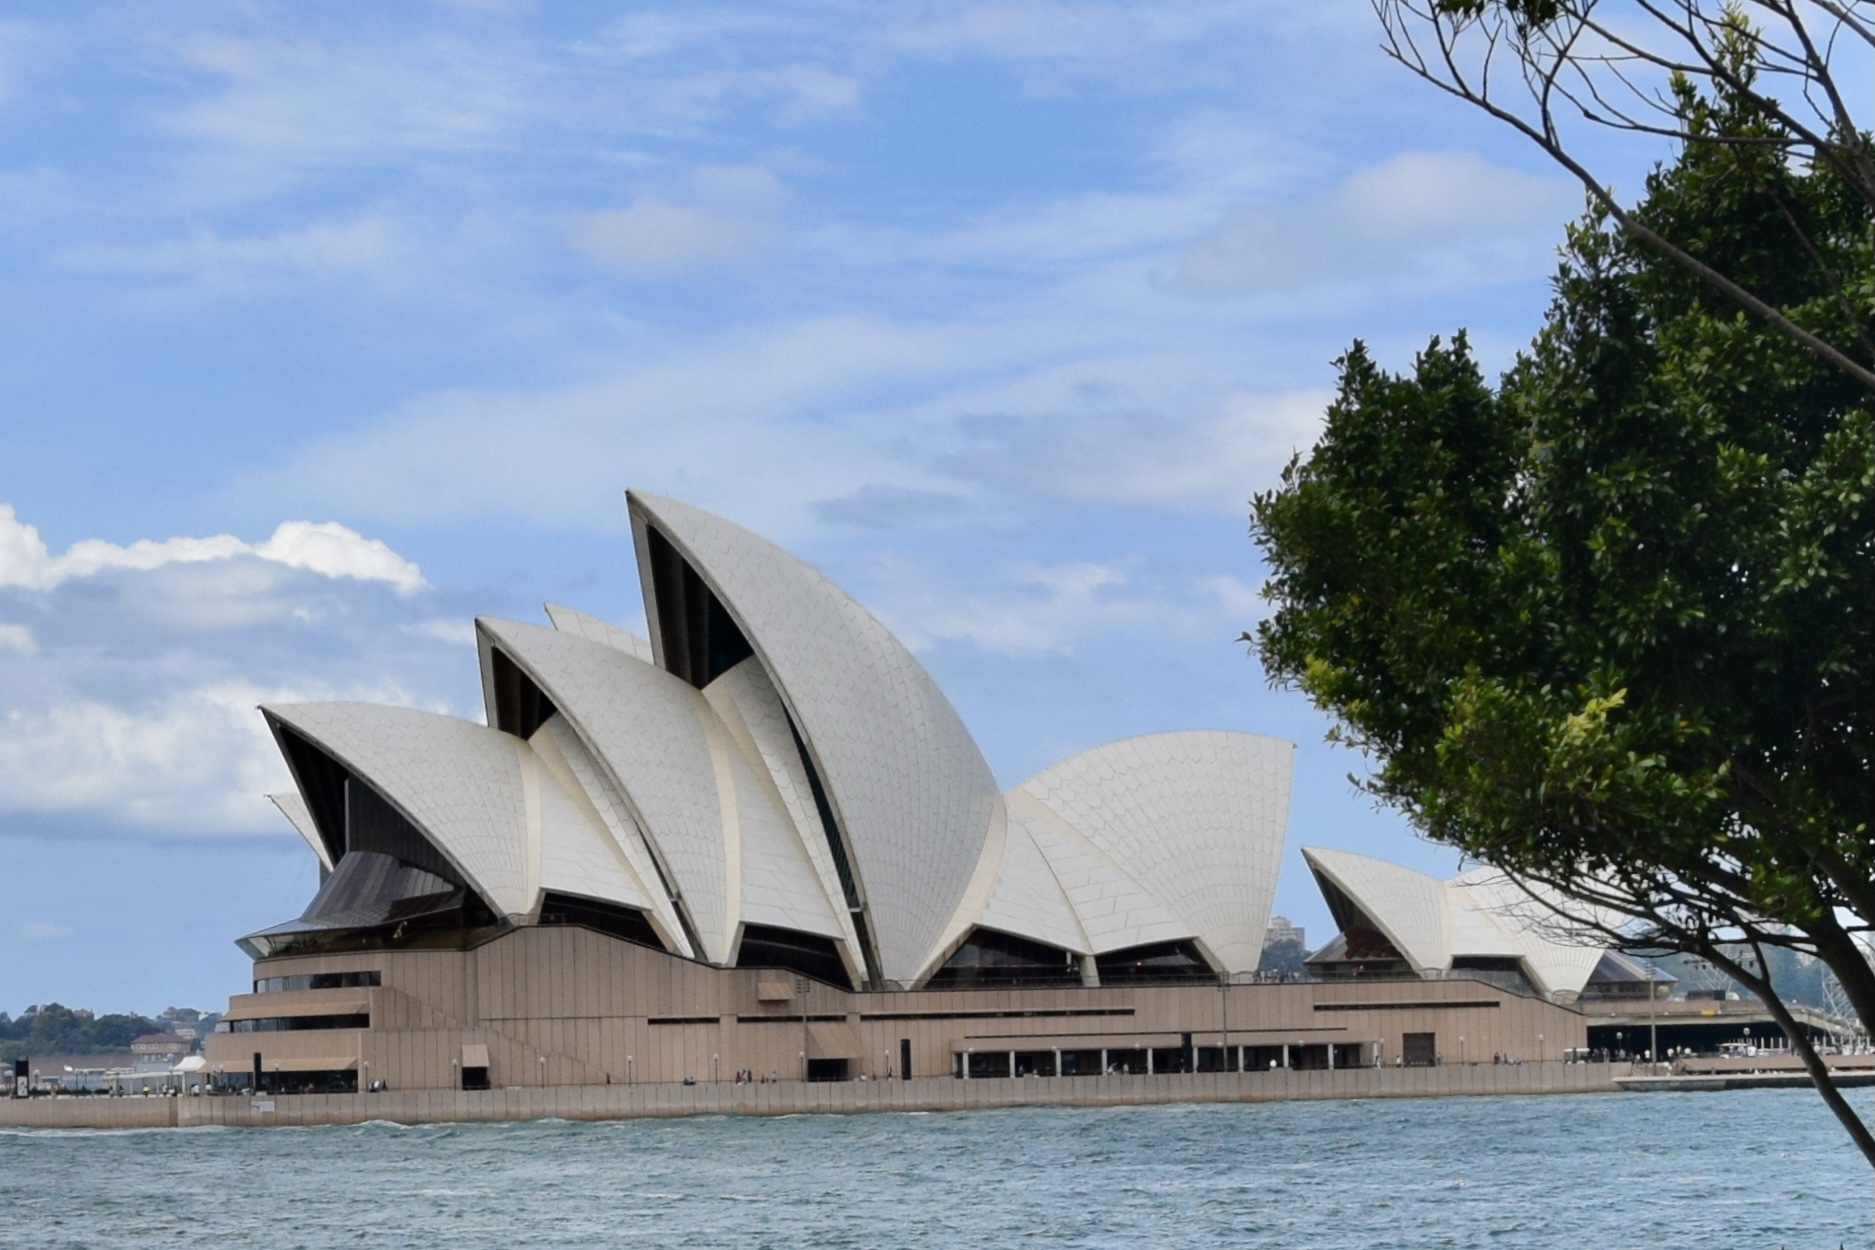
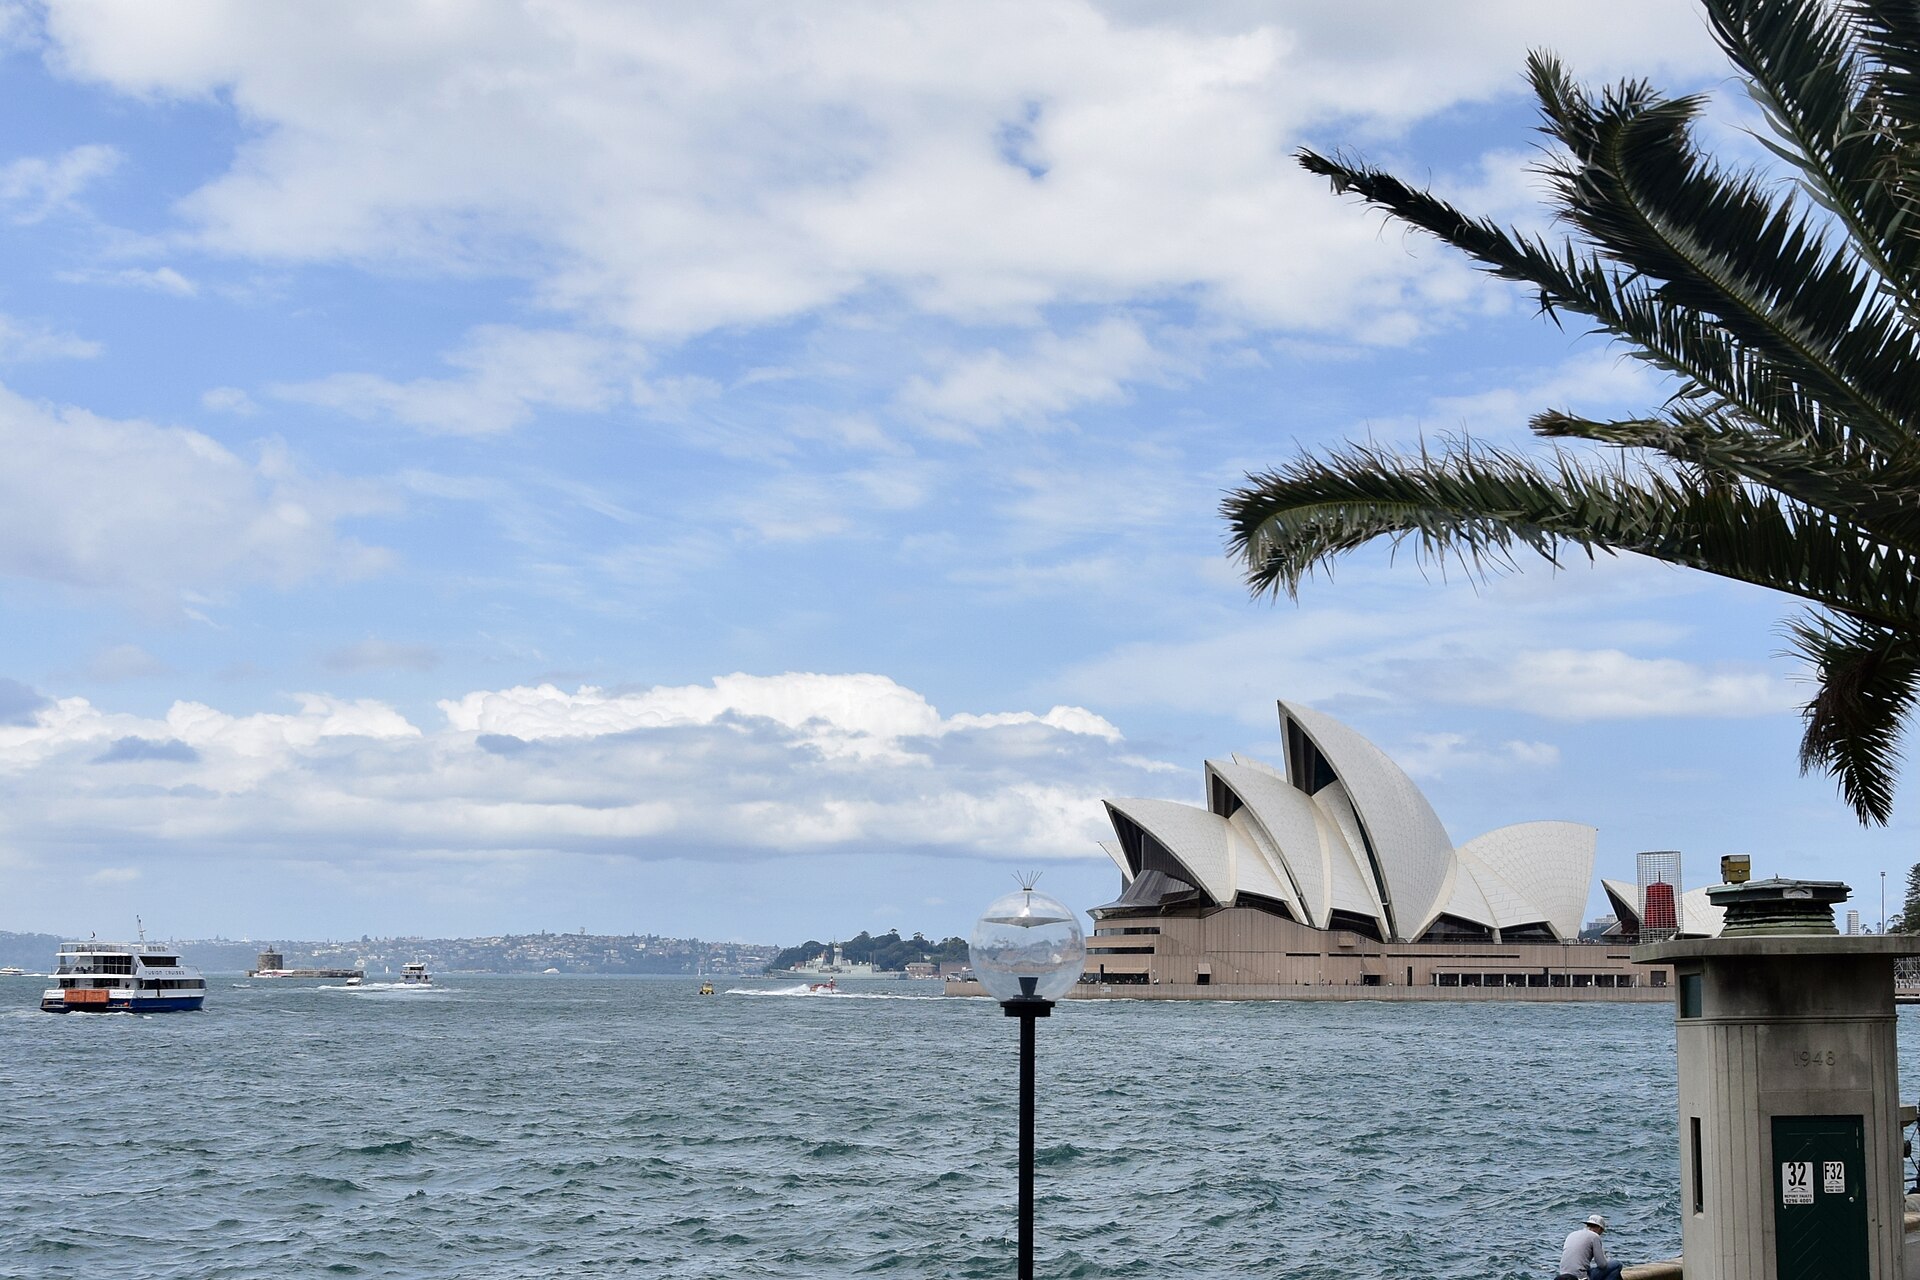
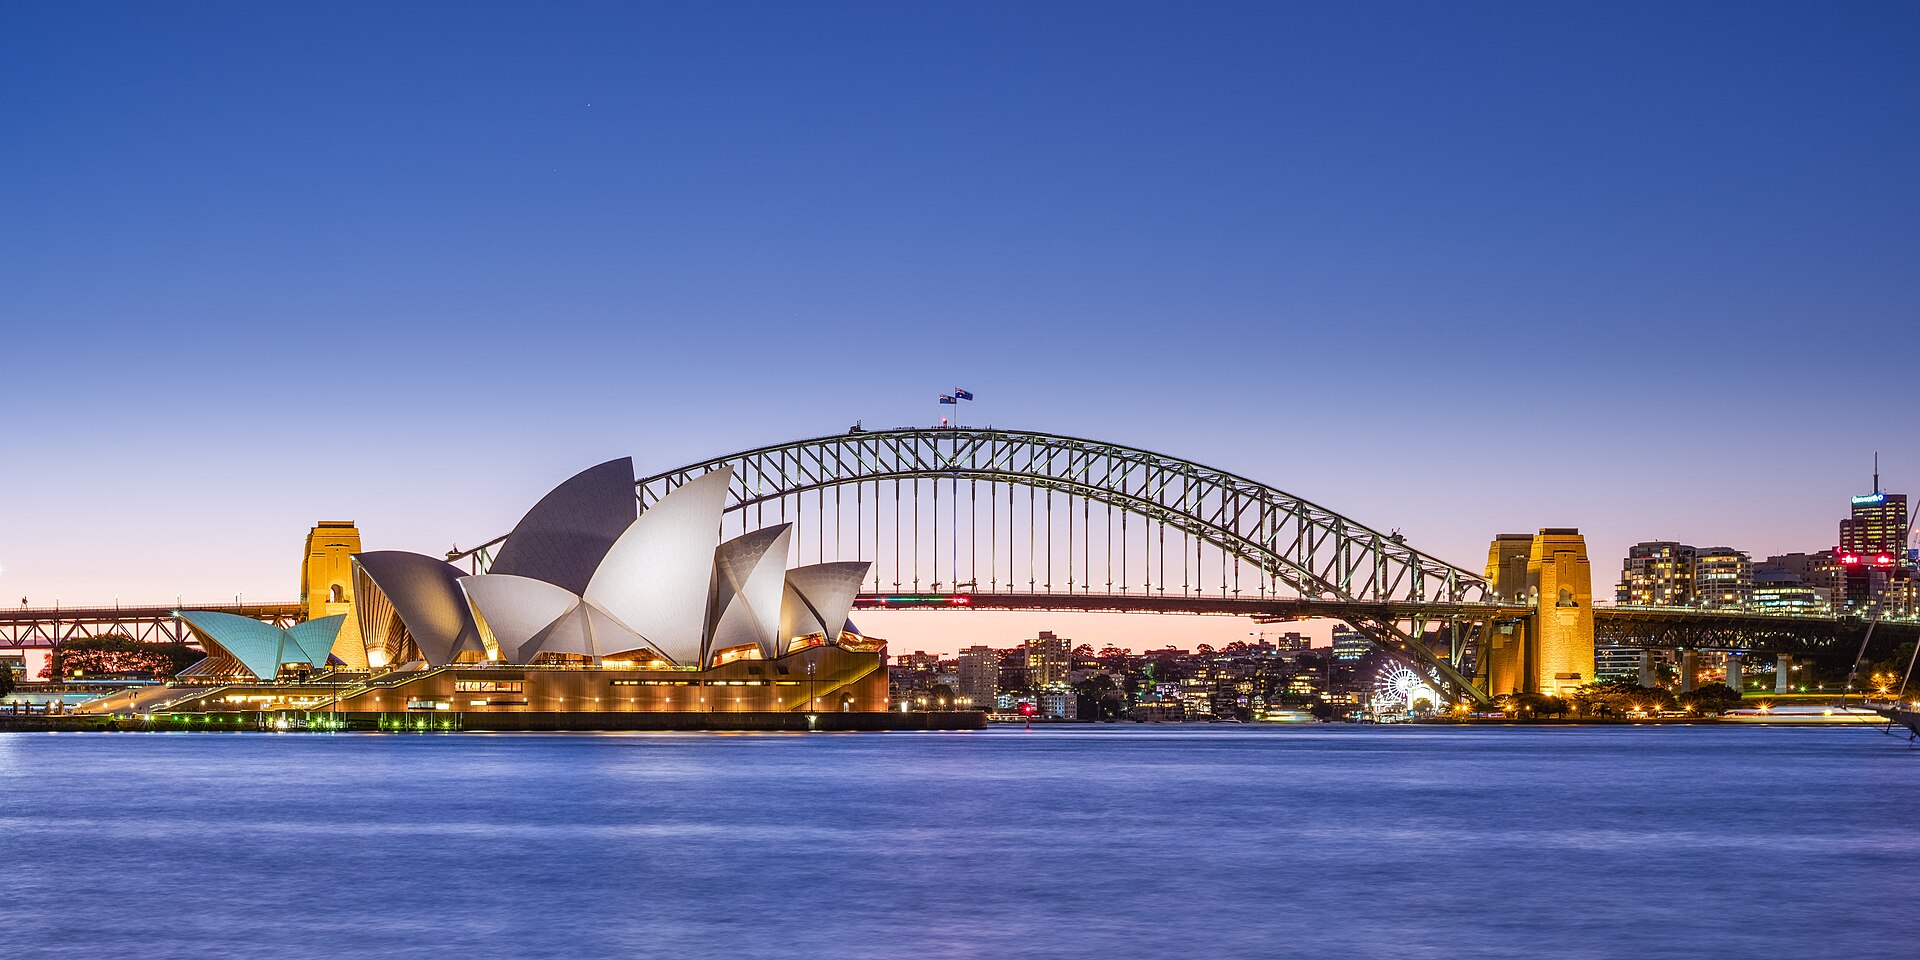
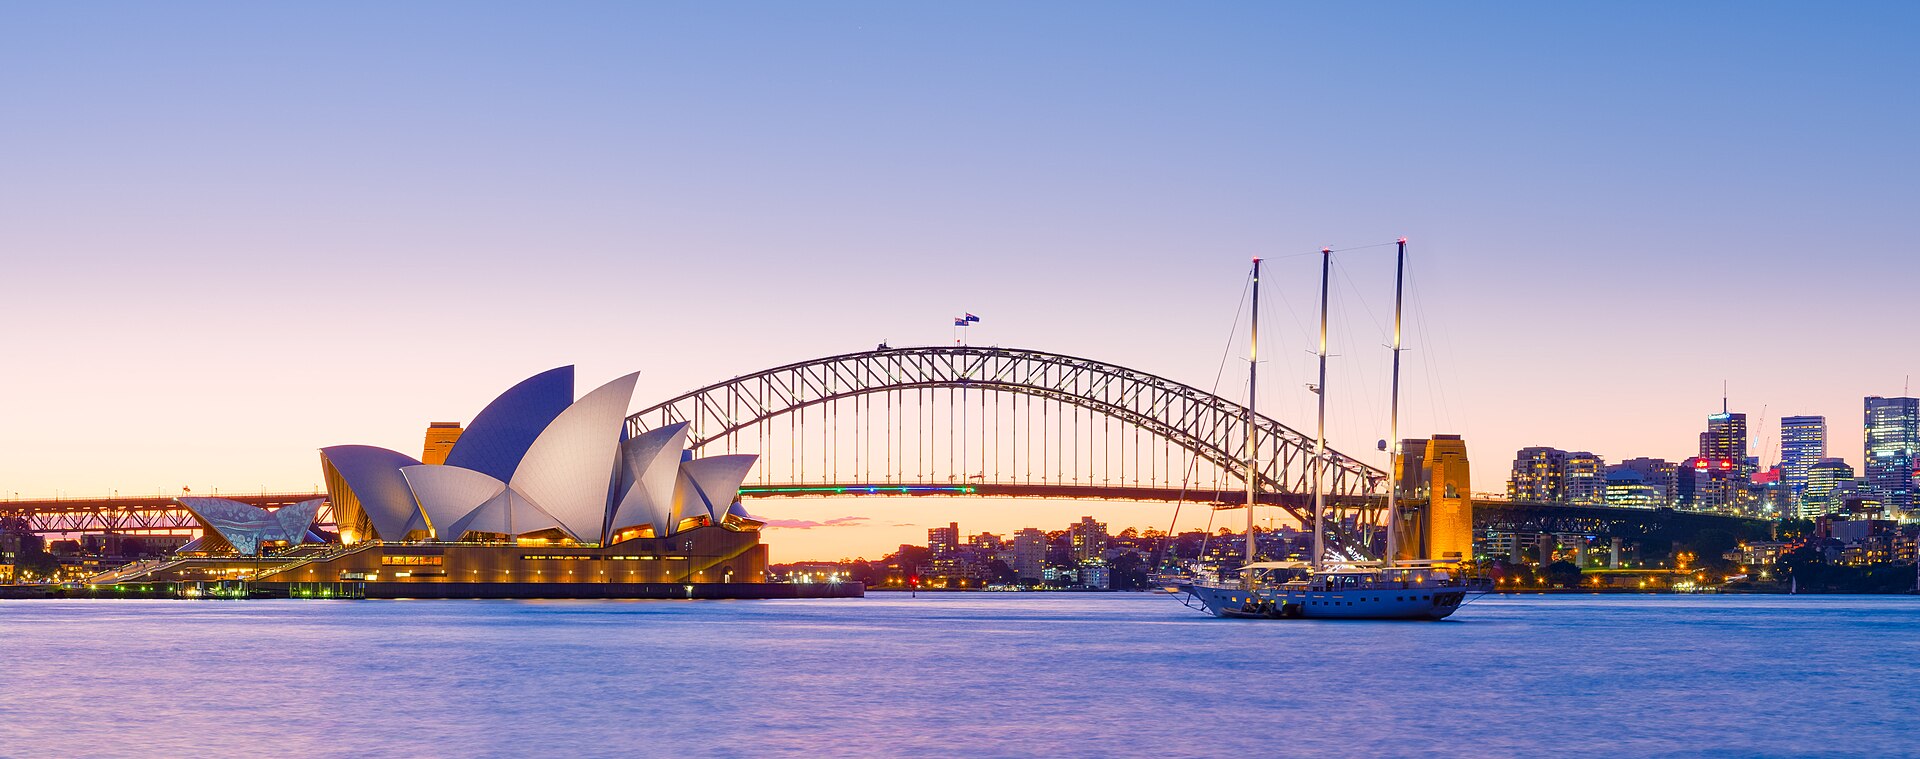
On T1 and T9 services crossing the Harbor Bridge, the upper deck is worth the climb. Looking east gives a clear line to the Opera House and Circular Quay. Looking west shows Darling Harbor and the wharves beyond it. The crossing takes only a couple of minutes. Claim a seat before the train reaches Milsons Point or Wynyard, not after.
That same upper deck becomes a liability the moment you’re changing trains. Central and Town Hall are short-dwell stations: doors open, the platform clears, doors close, often inside a minute. Each carriage has a single narrow staircase at each end and three sets of double doors a side. Going downstairs after the bridge adds walking time you don’t have to spare, especially with a suitcase. If the next train is on a tight connection, sit downstairs near the middle doors from the start.
The rule in practice
- Crossing the Harbor Bridge, no connection to make: upper deck, eastern side, for the harbor view.
- Changing at Central or Town Hall with luggage: lower deck, middle doors — skip the stairs entirely.
- Peak-hour city-bound trains: lower deck is faster to board and alight when platforms are crowded.
- Long off-peak ride with no interchange: either deck; the time saved on exit doesn’t matter.


Why the staircase is the bottleneck
A double-deck carriage holds more seats than a single-level one, but it moves people through fewer exits. Three doors a side is standard across the fleet, and each one funnels down to a narrow stairwell from the upper deck. At a station with a short dwell, that stairwell is where a missed connection actually happens. It isn’t the platform that costs you time — it’s the stairs above it.
Platforms at Central are long, and the walk between some of them is longer again. Losing twenty seconds on a staircase can cost you the connection entirely.
Fares don’t change with the deck
Where you sit has no effect on the fare. Opal and contactless fares are distance-based. They’re calculated from where you tap on to where you tap off. The deck you choose doesn’t enter into it. Missing the tap-off at the other end charges the maximum possible fare for that trip. Which level you rode in makes no difference.
The same trip also counts toward the daily, weekly and Sunday caps that make repeated travel cheaper the more you use it. Those caps are set and adjusted by Opal. Check the current figures there, not here.

Beyond the bridge
The Harbor Bridge crossing is the dramatic case. The same logic holds on any line with a view worth the climb. The Illawarra line runs along eastern cliffs south of Central. Some North Shore approaches offer harbor glimpses too. If there’s no connection waiting at the other end, go up. If there is, don’t.
For the same harbor view on foot, free of charge, see the pedestrian walk across the Harbor Bridge. Current line maps, platform numbers and any planned works are published by Transport for NSW. Check that page before a trip that depends on a tight connection.
For card versus phone versus Opal card at the gates, see Do You Need an Opal Card, or Will a Bank Card Do? For what a line running past the fare zone means, see Where the Opal Network Ends. More on how the wider system works is in Getting Around.
Access Sydney is an independent guide written from published, checkable sources. We have not visited the places described here and we do not publish personal recommendations or invented ‘local favorites’ — where something is singled out as notable, we say who says so. Opening times, fares, closures and prices change at short notice, so treat everything here as a starting point and confirm with the museum, operator or venue directly before building a day around it. We give no advice on visas, insurance, health or safety; use your own government’s official guidance for those.
Featured image: Photo by Ank Kumar, source, CC BY-SA 4.0
